3D Printing

4365 readers
34 users here now

For everyhting 3D printing related.

Please be excellent to each other :)

Icon by Freepik, Banner photo by Thiago Medeiros Araujo

founded 4 years ago
MODERATORS
1
4
submitted 4 years ago* (last edited 4 years ago) by [email protected] to c/[email protected]


Hi there!

I think it'd be fun to discover each other design profiles. I'm using cults3d right now but Thingiverse, myMiniFactory and everything else are okay, too.

Sharing your social media accounts is totally cool, too, if they are 3D printing related.

2


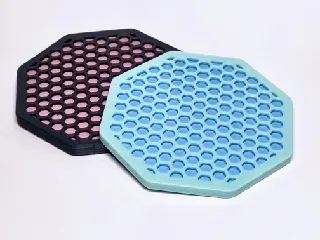
There's uselessly tiny gem fragments in them thar ancient alluvial gravel beds.

Model is bought from: https://cults3d.com/en/3d-model/various/gold-sluice-box-v2-modular-expandible-included-4-mats-classifier although easy enough to design yourself. It works great though and the price is fair if you do want one.

Sluice body is petg, mats are tpu as I thought it would make cleaning easier. TBH petg would probably be a better candidate as long as you did a high contrast material. The flex doesn't add much as it's short sections that fit in a pan anyway.

3
4
5


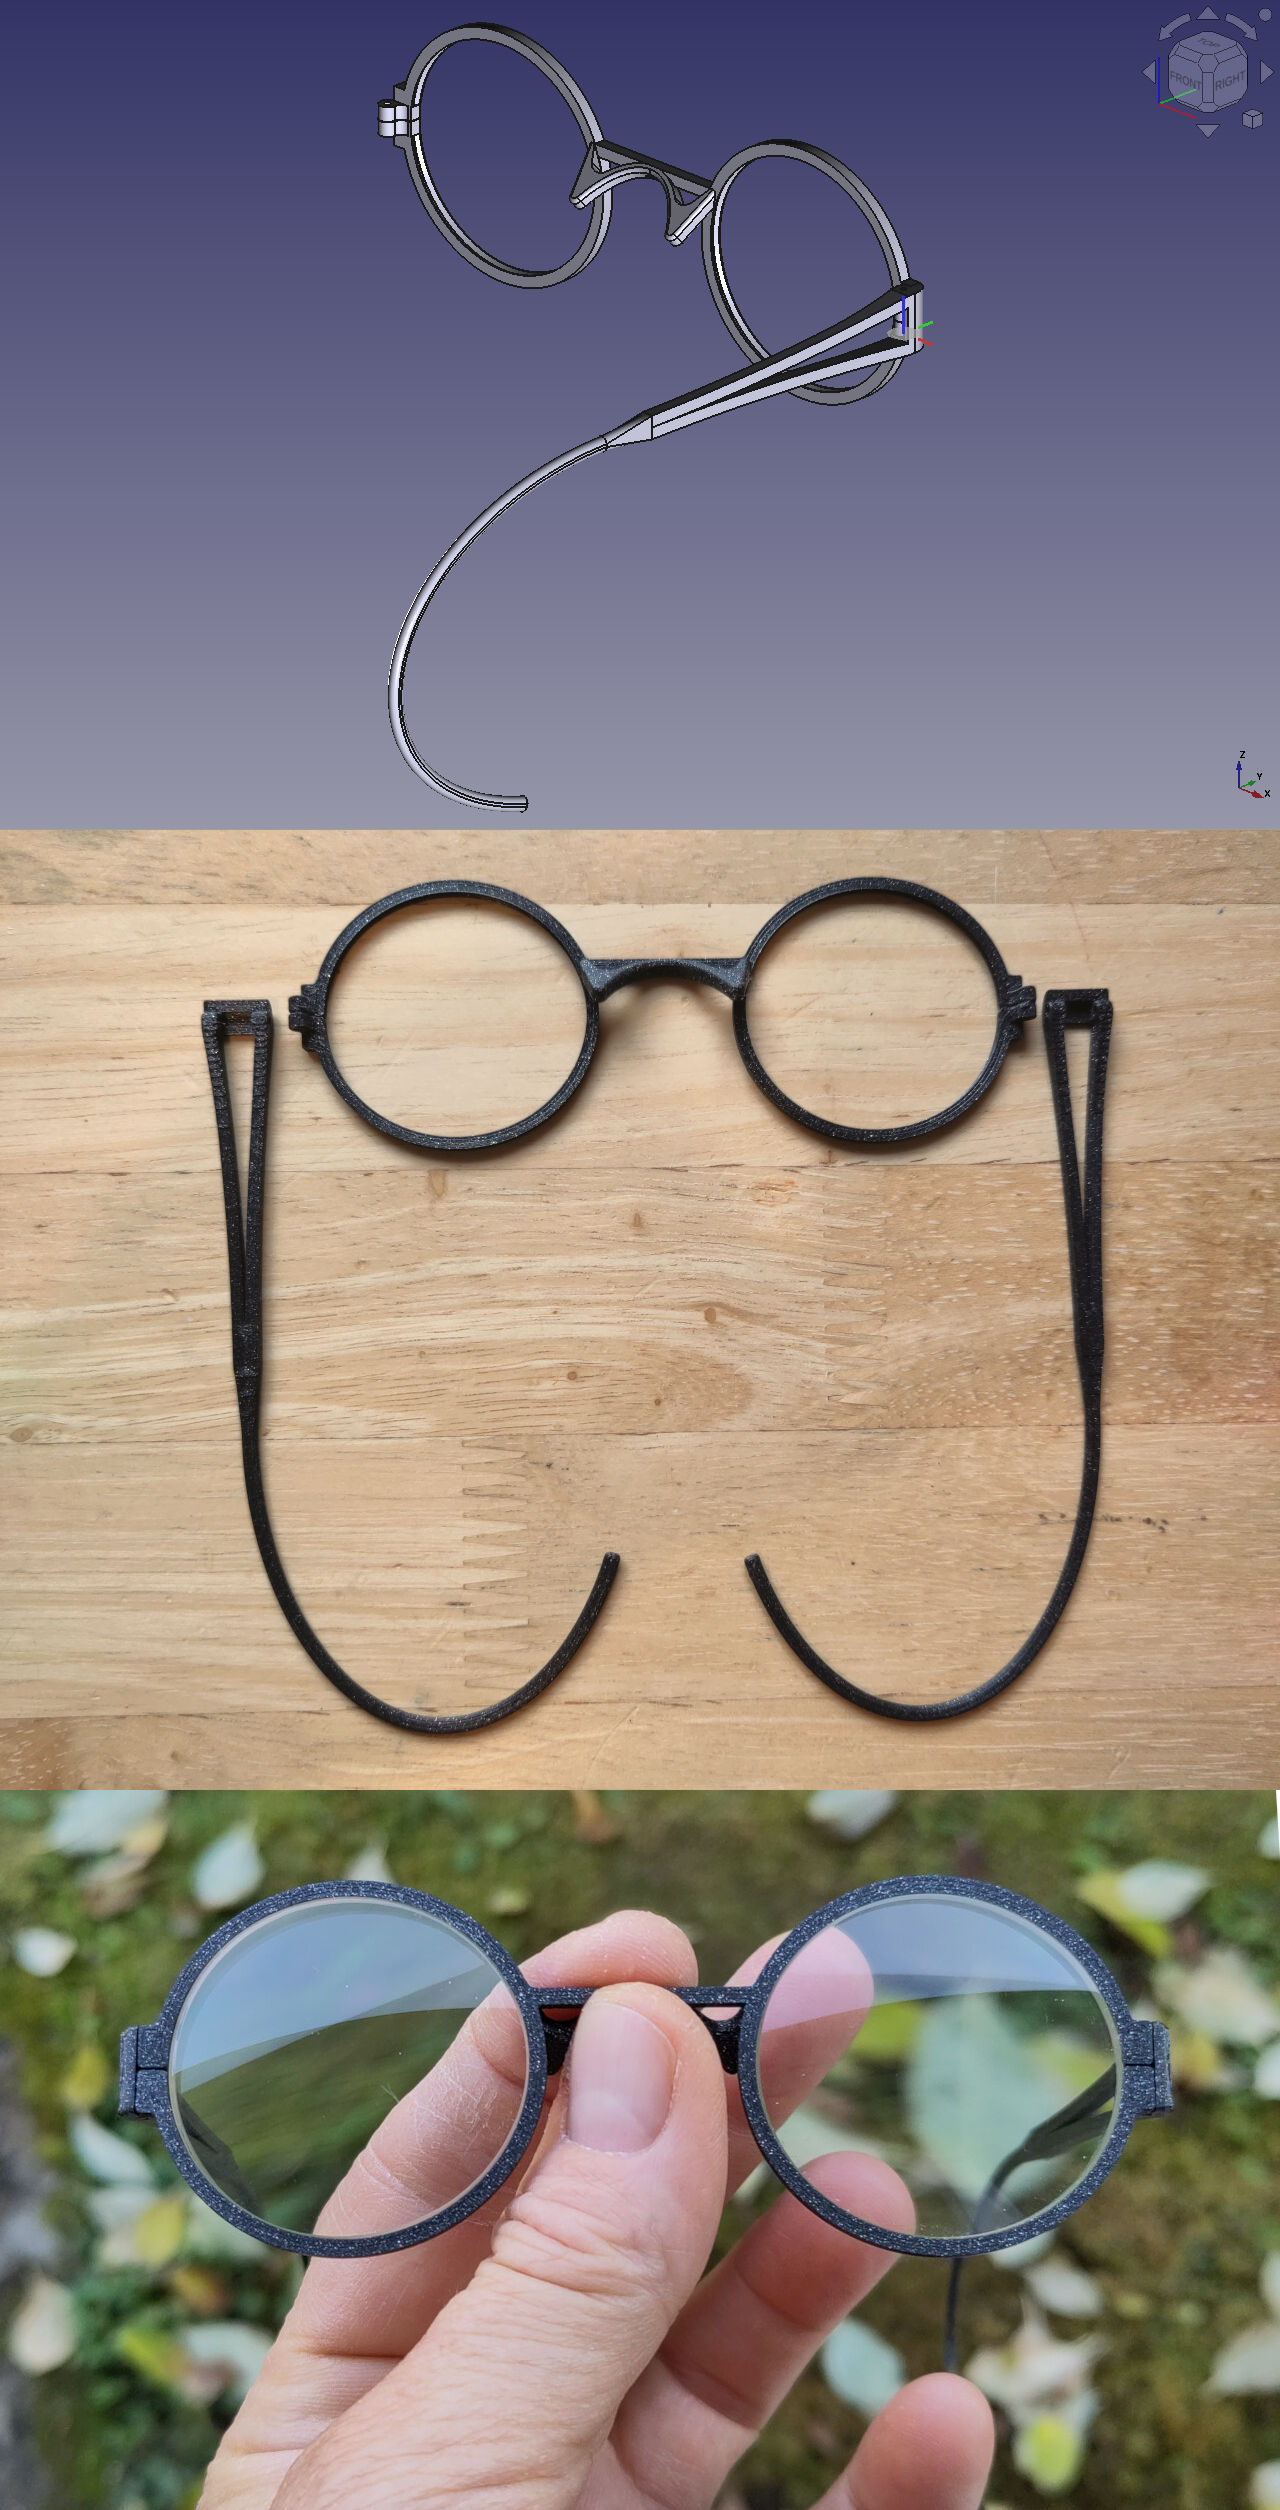
I had new progressive lenses made, but the old ones are still fine and don’t have a scratch. They’re just a bit weak at near distance, but otherwise perfectly serviceable.

So I made new frames for them because I don’t like to throw away things that work.

All assembled, the frames weigh 3.5 grams, and 14 grams with the lenses mounted.

This was printed with a Prusa Mk4 and regular PLA at 0.15 mm layer height. The hinges use simple 10x1 pins - and I worked my magic to print the holes horizontally to the final dimension with interference fit, so no reaming or drilling is necessary. These glasses are straight out of the printer with zero rework.

I think they look pretty good as they are. If anybody notices they’re 3D-printed, I’ll say I’m gunning for that particular style 🙂

The front of the frames prints in 11 minutes and both temples in 12 minutes. I could break and make a new pair every day for the rest of my life and it would still be faster and cheaper than going to Specsavers only once.

6


Hi everyone,

As in the title, I would start to learn how to design models for 3D printing and the basics about 3D printing, but I'm a total noob.

Do you have any suggestions about where to start?

Thanks everybody

7
8
9


I am new to 3D printing, but have always wanted to get into it. Unfortunately, I have very limited space and no dedicated area that I could call my workshop. I also travel frequently, and I would like something where I could take it with me for the day.

Therefore, I would like a portable, or at least very small printer. AFAIK, the new Positron V3.2 is purpose-built to solve this kind of problem.

I am asking whether that model is a good idea for a beginner. My main concern is the price, which I am willing to put up with if there really is no other portable printer.

My other concern is just the fact that it is new and I may be too inexperienced with printers to deal with problems that are natural in first-gen products. I have a decent amount of experience soldering and other electronics work, but nothing with small moving parts. Also IDK if sourcing parts would be an issue.

If, in your experiences, these make it not worth it as a first printer, what would you recommend as a portable printer?

10


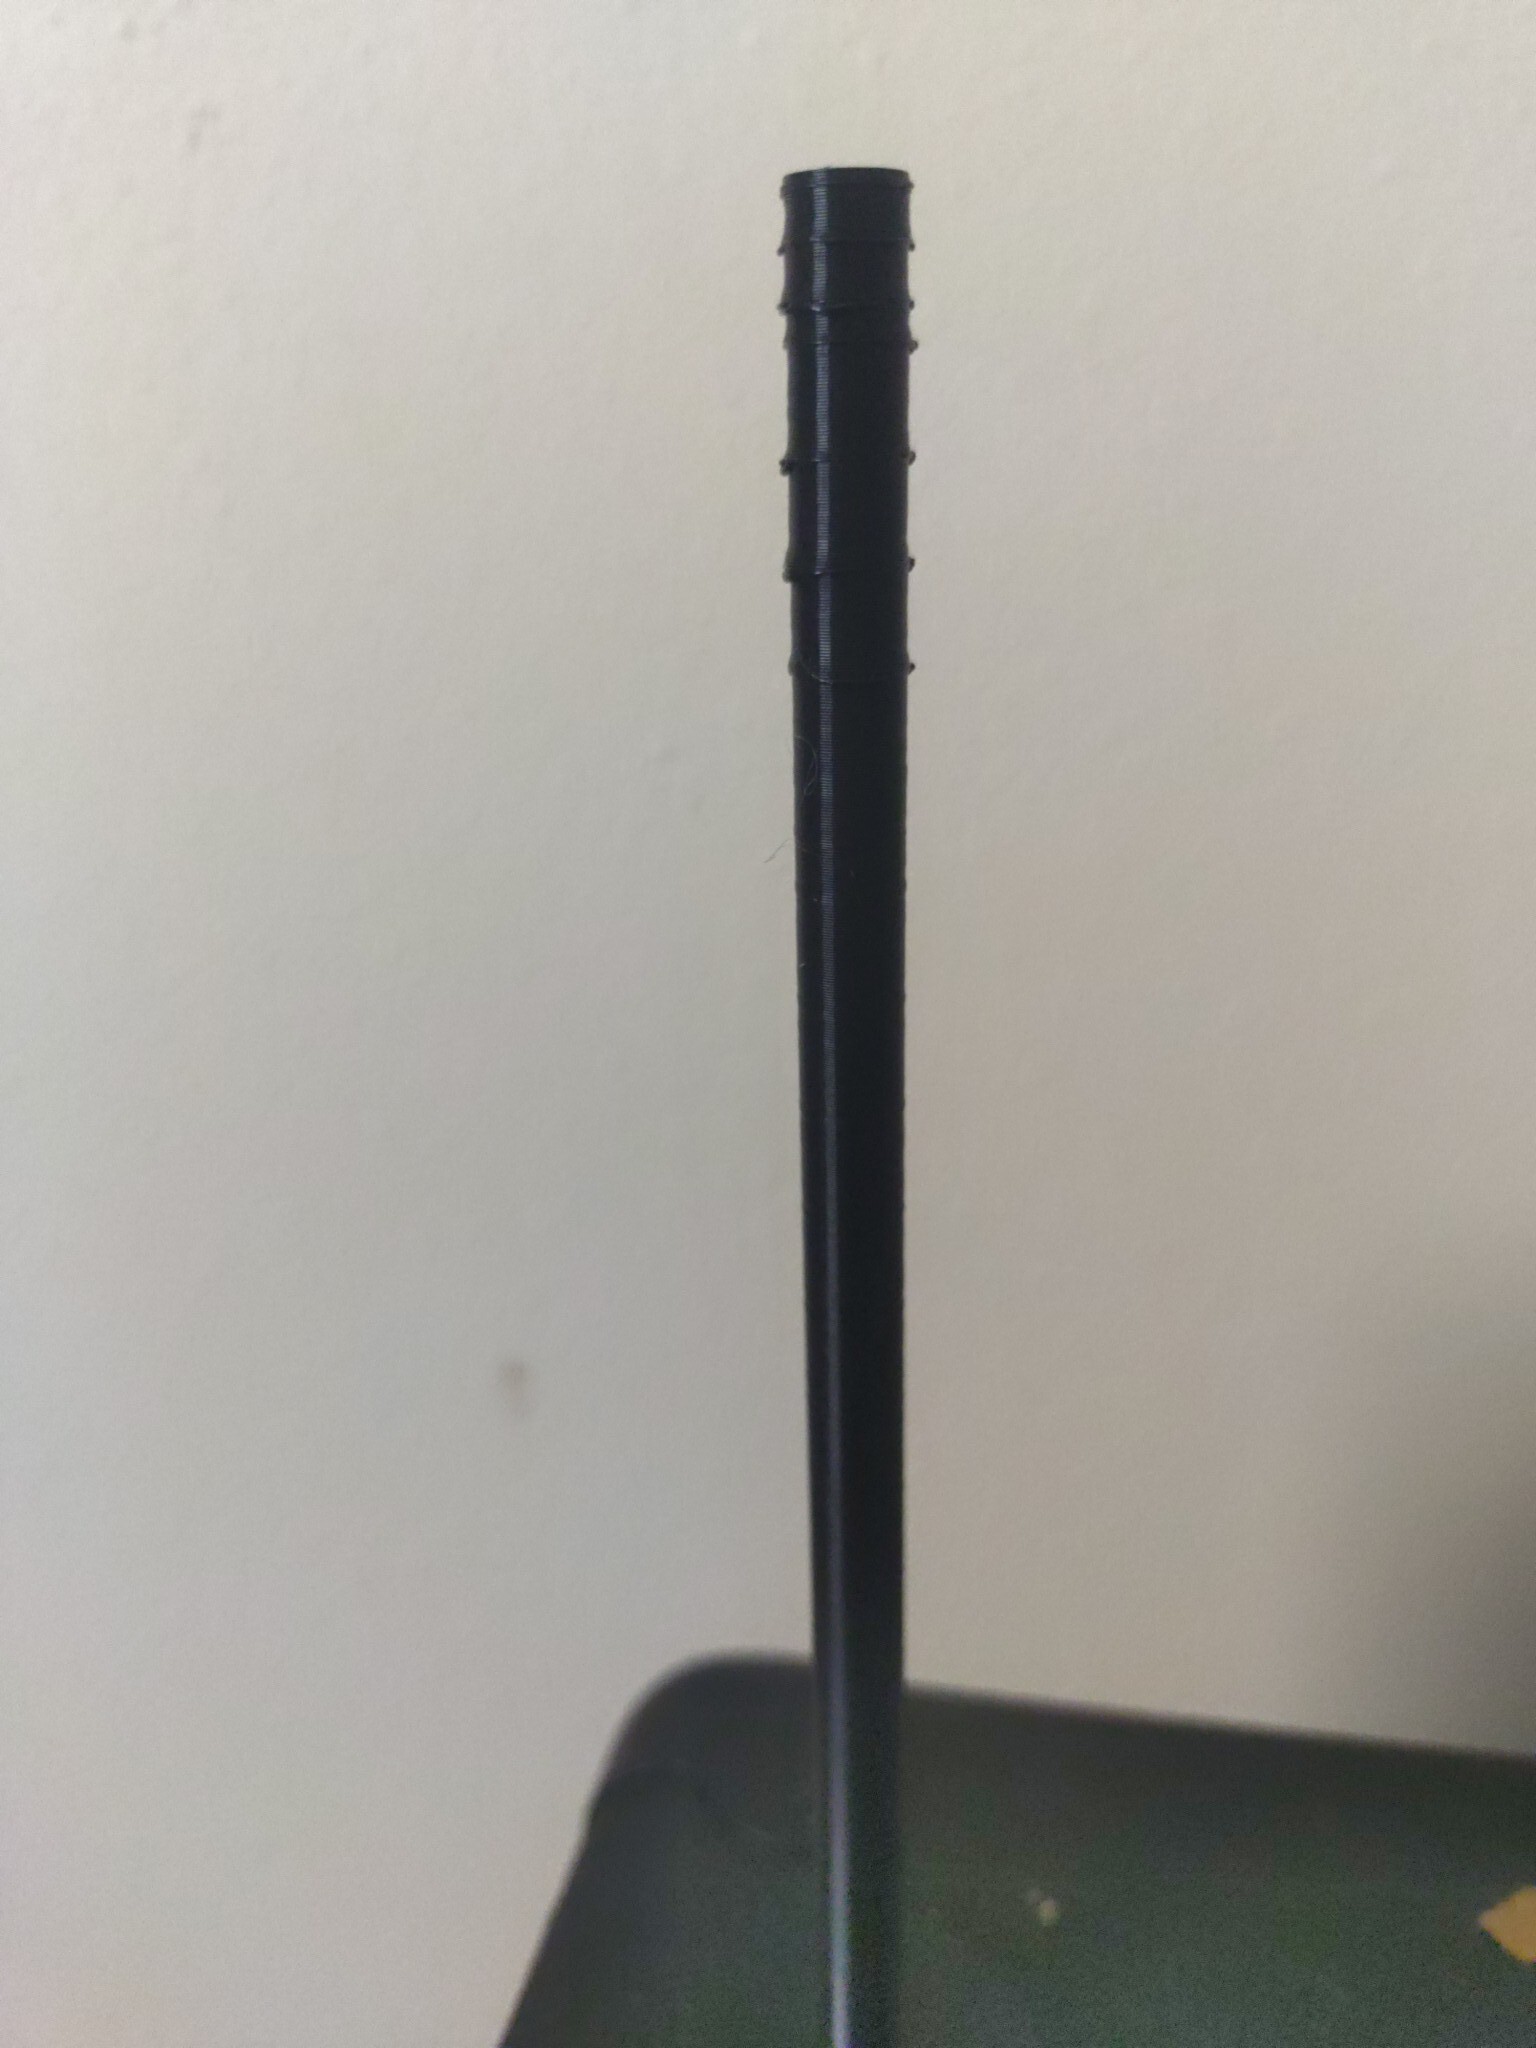
I've printed similar objects with a different colored PLA, but I ran out of it and switched to this.

Is it possible that this could be influencing the outcome?

I have tried reducing the printing speed by 50%, but this did not seem to have a significant impact.

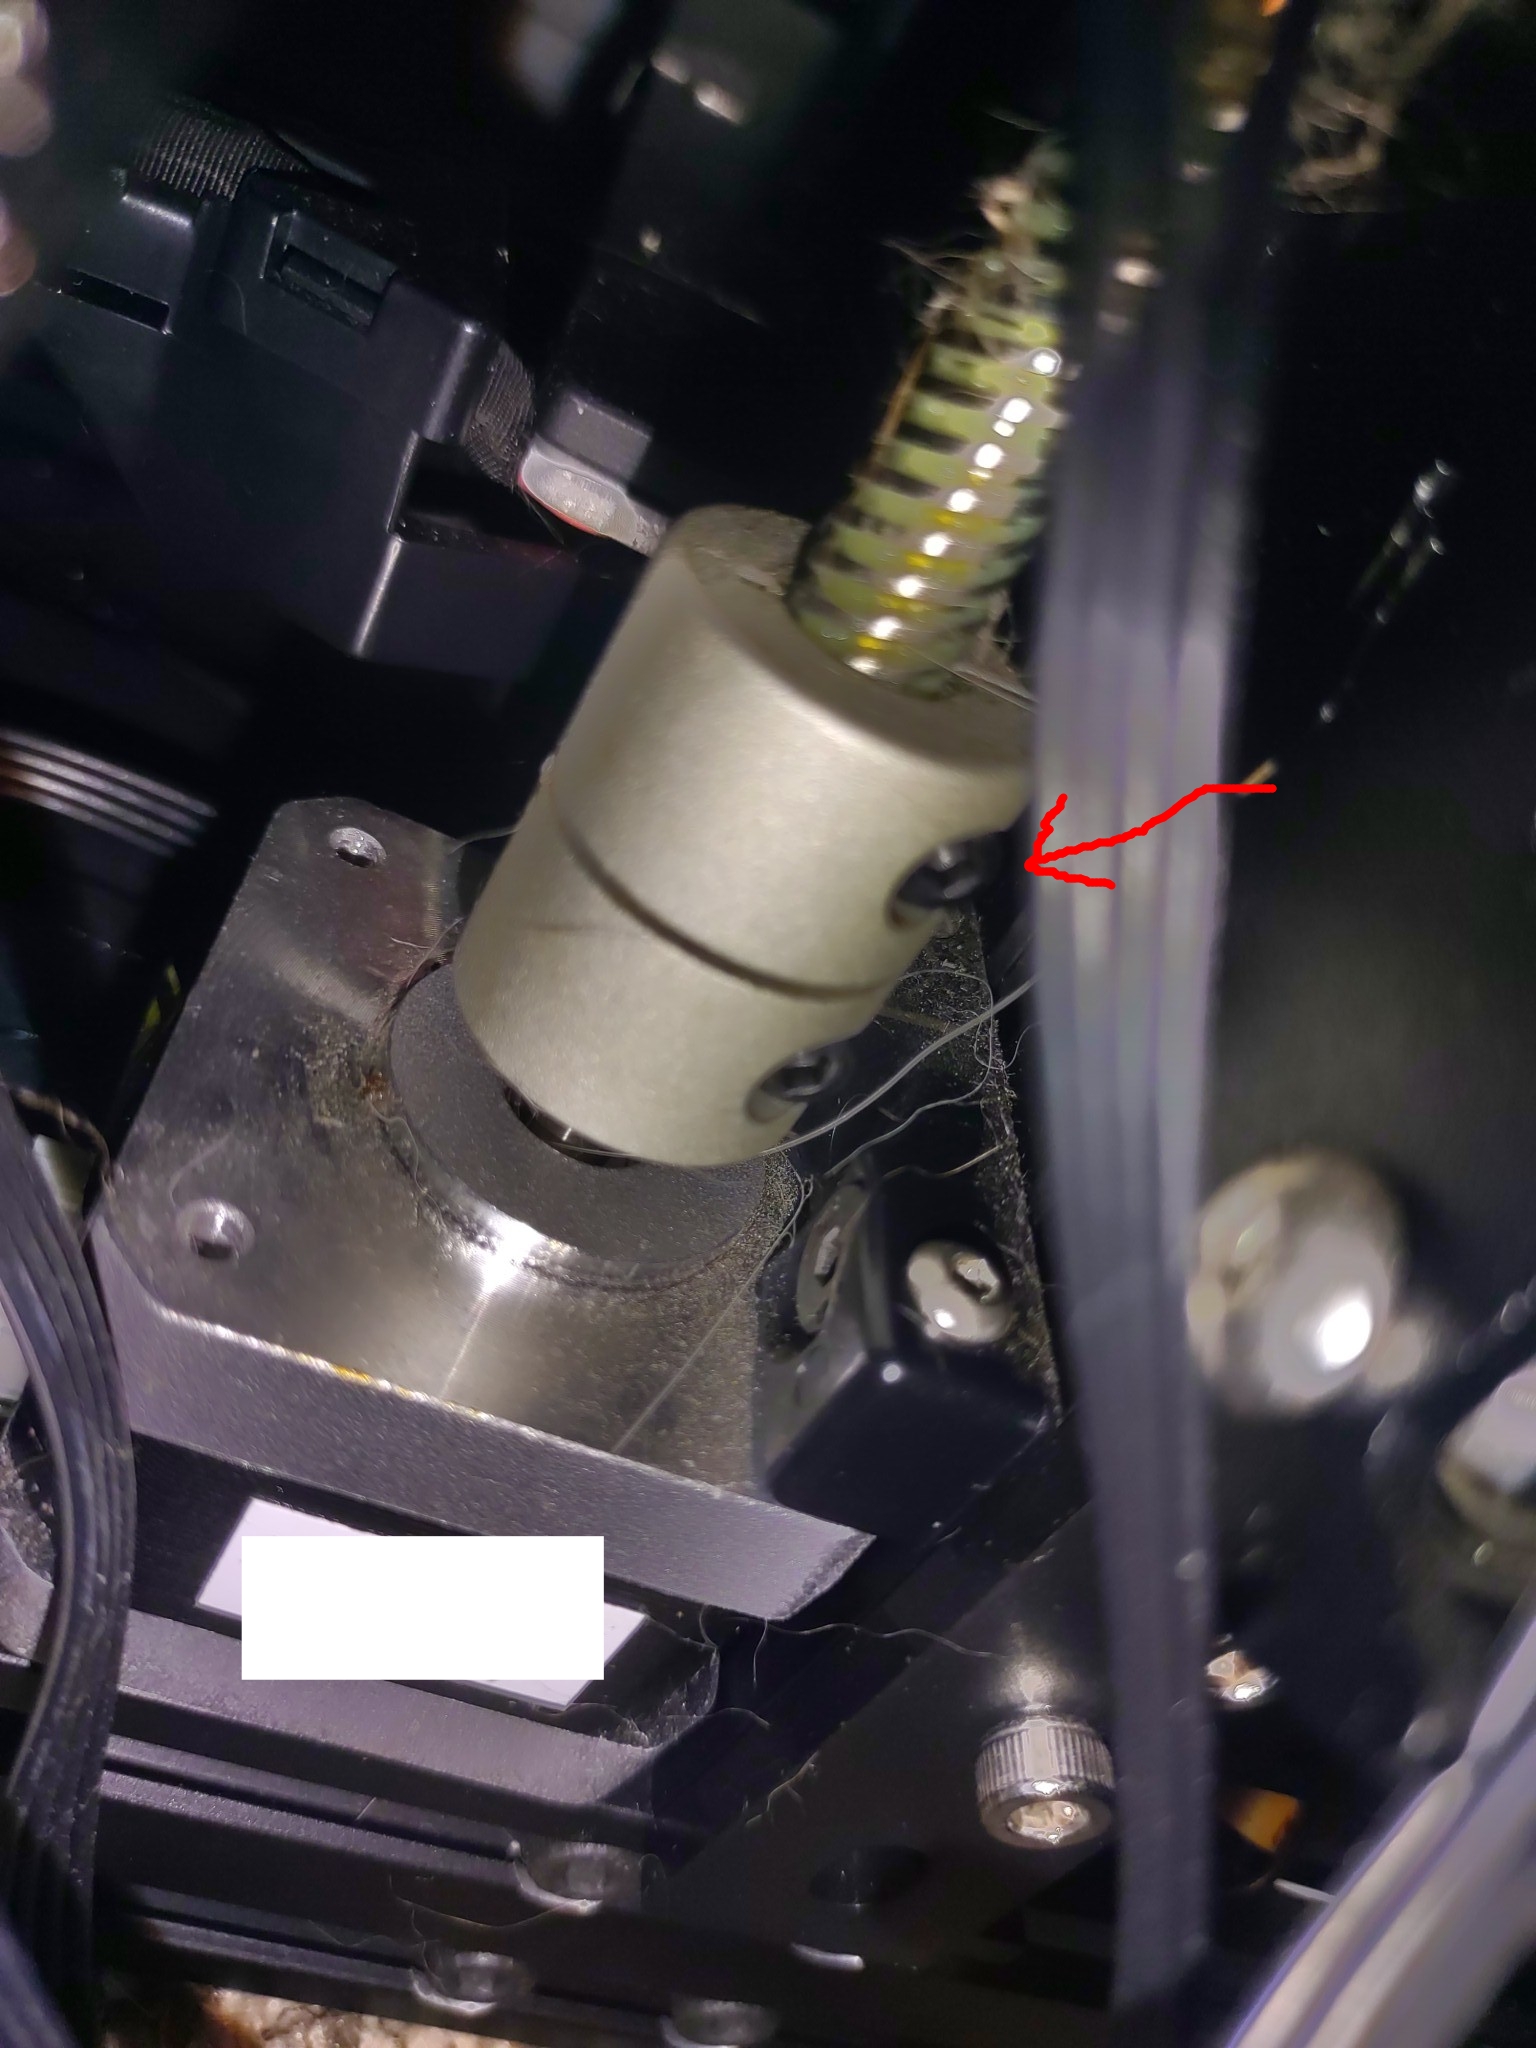
[SOLUTION] The problem was a loose screw. The offending part as well as the new result are pictured below. It's not perfect, which I guess is actually a part of the model this time, but it's good enough for my purposes and way better than what it was before.

I figured this out by twisting the Z-axis thingy manually all the way to the top to see if I could feel any issues. Towards the top, it would start to 'skip', where I would turn and pretty much nothing would happen. I assume this has to do with the lack of lube at the top because my prints rarely go that high. I checked to see if the screws were loose, and sure enough, the top one was. I tightened it up and now my printer is printing like the beast I remember!

11
12


This started happening after I upgraded my ender 5 to ezBoard V2

13


Today we're ecstatic to publish our first demo showing a homemade BusKill Cable (in the prototype 3D-printed case) triggering a lockscreen.

3D-Printed USB Dead Man Switch (Prototype Demo)
Watch the 3D-Printed USB Dead Man Switch (Prototype Demo) for more info youtube.com/v/vFTQatw94VU

via @[email protected]

In our last update, I showed a video demo where I successfully triggered a lockscreen using a BusKill prototype without the 3D-printed body for the case and N35 disc magnets. I realized that the N35 disc magnets were not strong enough. In this update, I show a demo with the prototype built inside a 3D-printed case and with (stronger) N42 and N52 cube magnets.

What is BusKill?

BusKill is a laptop kill-cord. It's a USB cable with a magnetic breakaway that you attach to your body and connect to your computer.

What is BusKill? (Explainer Video)
Watch the BusKill Explainer Video for more info youtube.com/v/qPwyoD_cQR4

If the connection between you to your computer is severed, then your device will lock, shutdown, or shred its encryption keys -- thus keeping your encrypted data safe from thieves that steal your device.

Why?

While we do what we can to allow at-risk folks to purchase BusKill cables anonymously, there is always the risk of interdiction.

We don't consider hologram stickers or tamper-evident tape/crisps/glitter to be sufficient solutions to supply-chain security. Rather, the solution to these attacks is to build open-source, easily inspectable hardware whose integrity can be validated without damaging the device and without sophisticated technology.

Actually, the best way to confirm the integrity of your hardware is to build it yourself. Fortunately, BusKill doesn't have any circuit boards, microcontrollers, or silicon; it's trivial to print your own BusKill cable -- which is essentially a USB extension cable with a magnetic breakaway in the middle

Mitigating interdiction via 3D printing is one of many reasons that Melanie Allen has been diligently working on prototyping a 3D-printable BusKill cable this year. In this article, we hope to showcase her progress and provide you with some OpenSCAD and .stl files you can use to build your own version of the prototype, if you want to help us test and improve the design.

Print BusKill
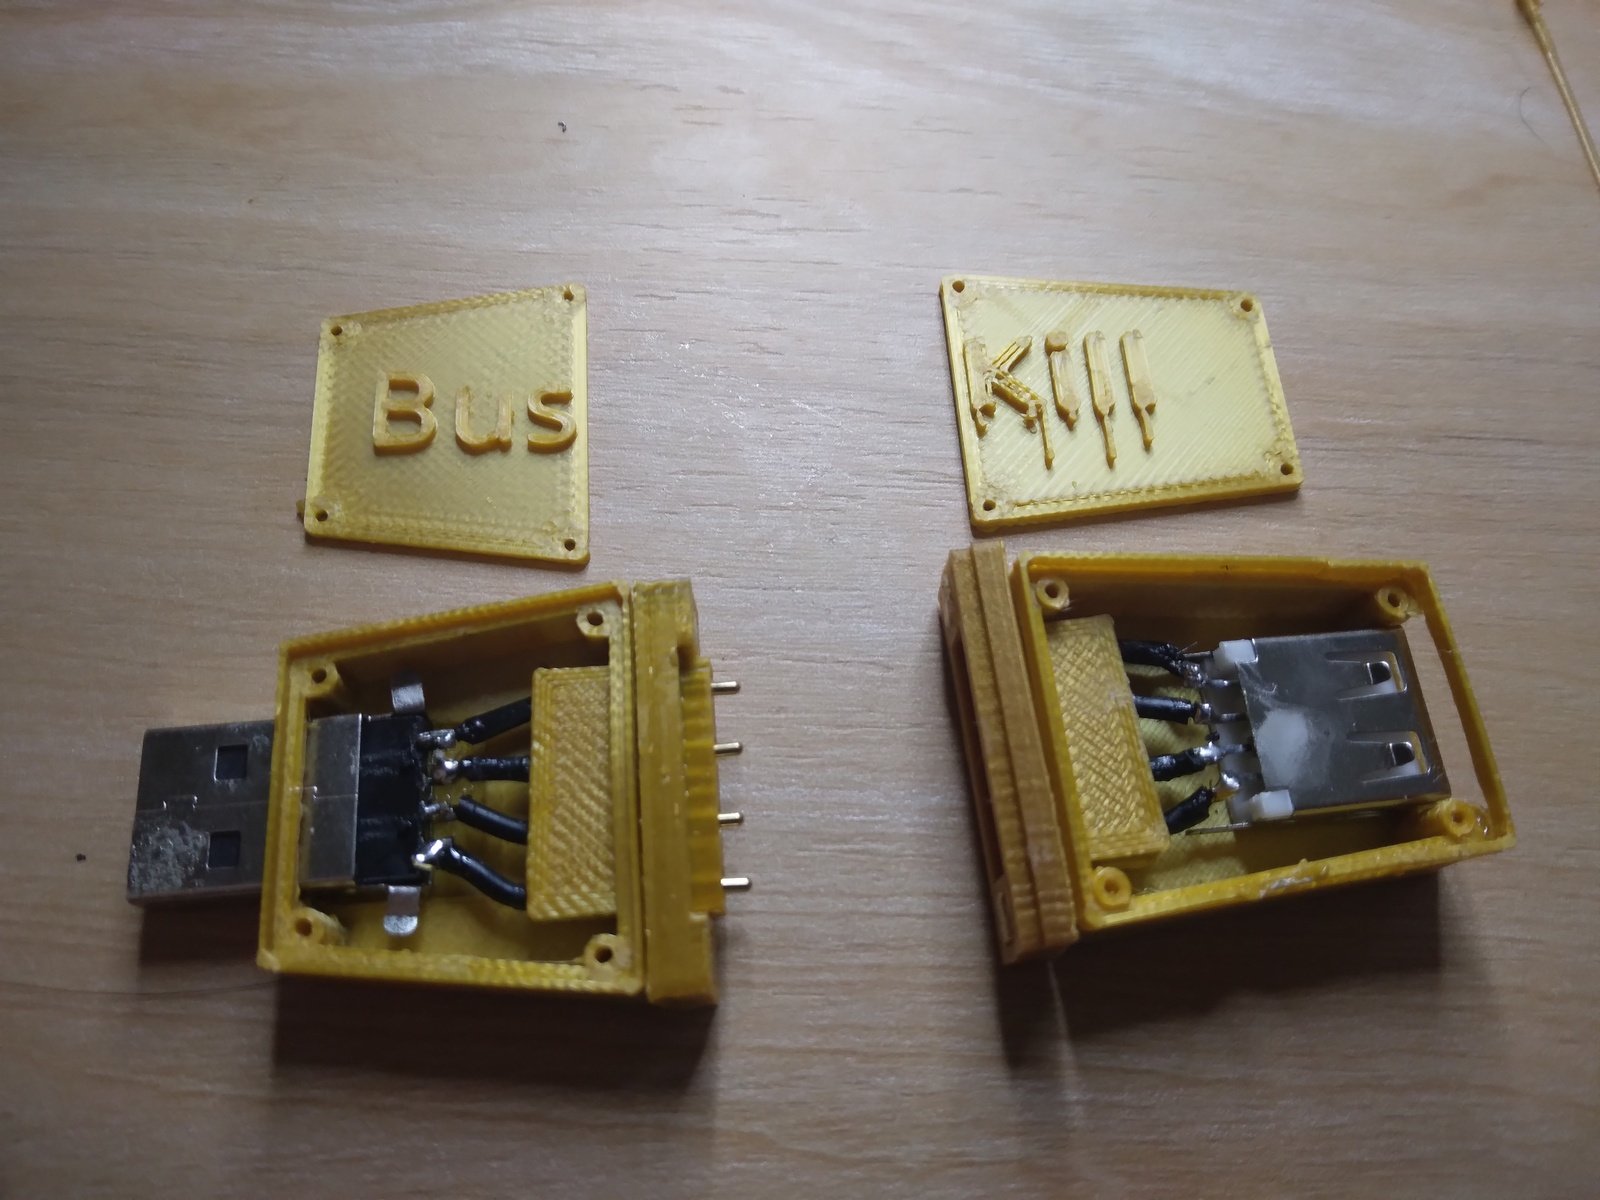
Photo of the 3D-Printed BusKill Prototype

If you'd like to reproduce our experiment and print your own BusKill cable prototype, you can download the stl files and read our instructions here:

Iterate with us!

If you have access to a 3D Printer, you have basic EE experience, or you'd like to help us test our 3D printable BusKill prototype, please let us know. The whole is greater than the sum of its parts, and we're eager to finish-off this 3D printable BusKill prototype to help make this security-critical tool accessible to more people world-wide!

14
15


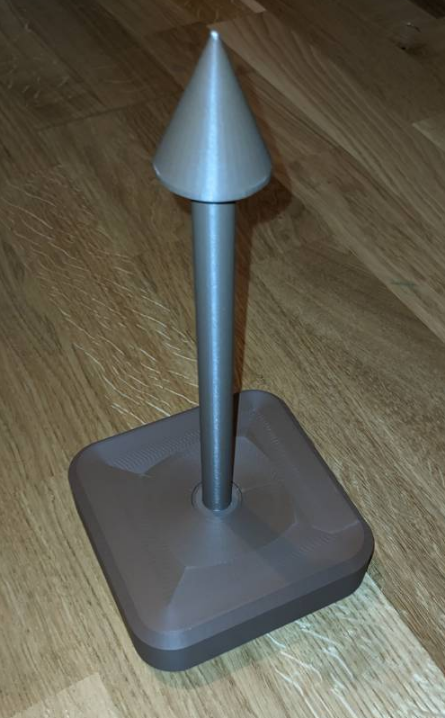
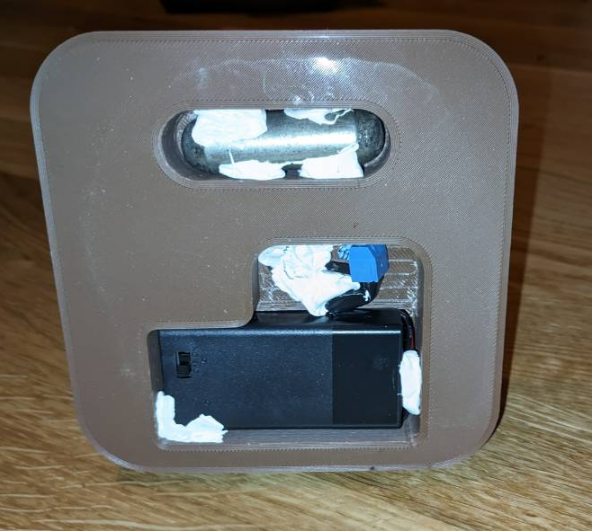
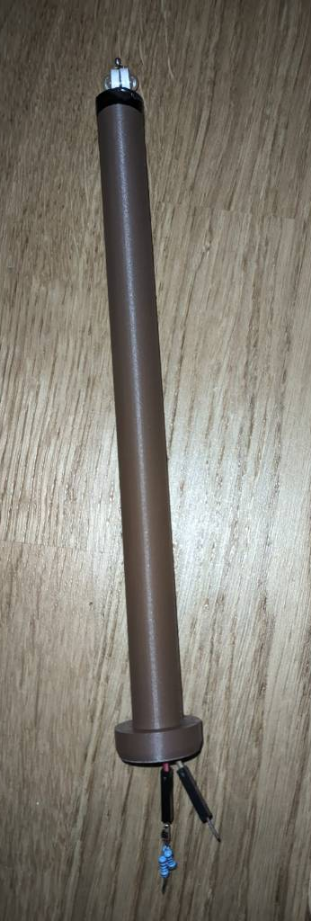
First time I printed something made in FreeCAD. It's a table lamp for our balcony, more like a mood light than a real lamp hehe. Its made from 3 parts (base, tube and a hat). Base and tube are CA glued and I used some insulating tape to fit a hat tightly. The lamp is about 240 mm tall and its powered from 9V battery. Battery case and steel weight are glued with some blue tack (white tack lol) to hold it in the place. There are 2 LEDs and resistor soldered together in series. I might replace the leds with lower powered ones if battery goes out too fast, but time will tell. Im also thinking about different hats, but first iteration was quick and dirty, I love it!

More pics:

16


On the bottom of my prints, there's an area of underextrusion and I can't figure out what's causing it.

I first noticed it when I switched back to a textured PEI bed while trying to print ASA. It's on 20x20mm squares, and it's on the test print for setting up pressure advance... But only on the left-most object.

It's the same even if I add 2 lines of skirt or not. (In addition to my KAMP Voron purge.)

It happens everywhere on the bed that I've tested. It happens to PLA, but it harder to see. For ASA, it's very obvious. For PLA, it's almost as smooth as the rest of the surface, but it's there if you know what you're looking for.

I've only been printing PLA for quite a while now, so I don't know when this started.

I've got an LDO Voron 2.4 with Tap, KAMP, Revo hot end. I've calibrated pressure advanced and changed the value, and I've tried different z offsets with the textured bed, which doesn't change it. (But does change how good the rest of the bottom surface looks.)

Anyone got any ideas?

https://imgur.com/a/ggaZDMY

17


I hate registering to websites. Especially when it's just to download FOSS.

It looks like there's no way to download Ondsel without registering?

18


I was printing PLA, it looks ok up to a certain height (although it was warping slightly), but then it becomes ugly. I will do a test print of the same height, butaybe you already have an idea.

19


3D prints still suffer from bad layer adhesion due to their 2.5D slicing and printing approach. I investigated if a novel slicing method that interleaves the layer could improve the strength of 3D prints.

20


cross-posted from: https://ttrpg.network/post/4222671

Want a 3D printer in New York? Get ready for fingerprinting and a 15 day wait

Assembly Bill A8132 has been assigned a "Same As" bill in the Senate: S8586 [NYSenate.gov] [A8132 - 2023]

I don't own a gun, I never have and I don't plan to at any time in the future. But if these pass in the NYS Senate and Congress, it would be required to submit fingerprints for a background check then wait 15 days, before you could own any "COMPUTER OR COMPUTER-DRIVEN MACHINE OR DEVICE CAPABLE OF PRODUCING A THREE-DIMENSIONAL OBJECT FROM A DIGITAL MODEL."

This isn't even going to stop any crimes from happening, for pity sakes regular guns end up in criminal charges all the time, regardless of background check laws. How about some real change and effective measures, rather then virtue-signaling and theater illusion for a constituency?

21


Assembly Bill A8132 has been assigned a "Same As" bill in the Senate: S8586 [NYSenate.gov] [A8132 - 2023]

I don't own a gun, I never have and I don't plan to at any time in the future. But if these pass in the NYS Senate and Congress, it would be required to submit fingerprints for a background check then wait 15 days, before you could own any "COMPUTER OR COMPUTER-DRIVEN MACHINE OR DEVICE CAPABLE OF PRODUCING A THREE-DIMENSIONAL OBJECT FROM A DIGITAL MODEL."

This isn't even going to stop any crimes from happening, for pity sakes regular guns end up in criminal charges all the time, regardless of background check laws. How about some real change and effective measures, rather then virtue-signaling and theater illusion for a constituency?

22


What's the maximum layer height I can achieve on a consumer 3D Printer?

I'm using a bambulab a1 mini more specifically but I'm interested in all answers to that question.

Personally, I think the look of the extrusion can be quite nice if it's not trying to be hidden – especially with transparent PETG or something similar.

23
12
Cutting Garolite (G10) (programming.dev)
submitted 9 months ago* (last edited 9 months ago) by [email protected] to c/[email protected]


I posted here a while back when my glass bed failed. One of the suggestions was to replace with Garolite or G10. My sheet finally arrived and i set about cutting it down to size.

...

Within 4cm, my basically unused jigsaw blade was worn flat, and by the end of the first cut (20cm), there is basically no more teeth.

For the second side, I tried using a multitool cutter, and within a few millimeters it was visibly blunt (plastic and metal tools). Finished it off with a standard wood hand saw, which seemed to go better.

So warning to anyone considering garolite, dont use power tools, it will fuck them up.

24
23
submitted 10 months ago* (last edited 10 months ago) by [email protected] to c/[email protected]


Awesome to see that Bambu and the X1 Plus devs are talking.

25


You can see where around corners and even some straight runs it is peeling up. I'm running first layer at an agonizing 15 mm/s. Using hatchbox pla filament, just dried in dehydrator. 200° nozzle and 70° bed. The glass is freshly cleaned with soap and water, I just did several atomic pulls, I've trammed at different heights using a feeler gauge, and absolutely nothing is working. Any one have any ideas?

view more: next ›