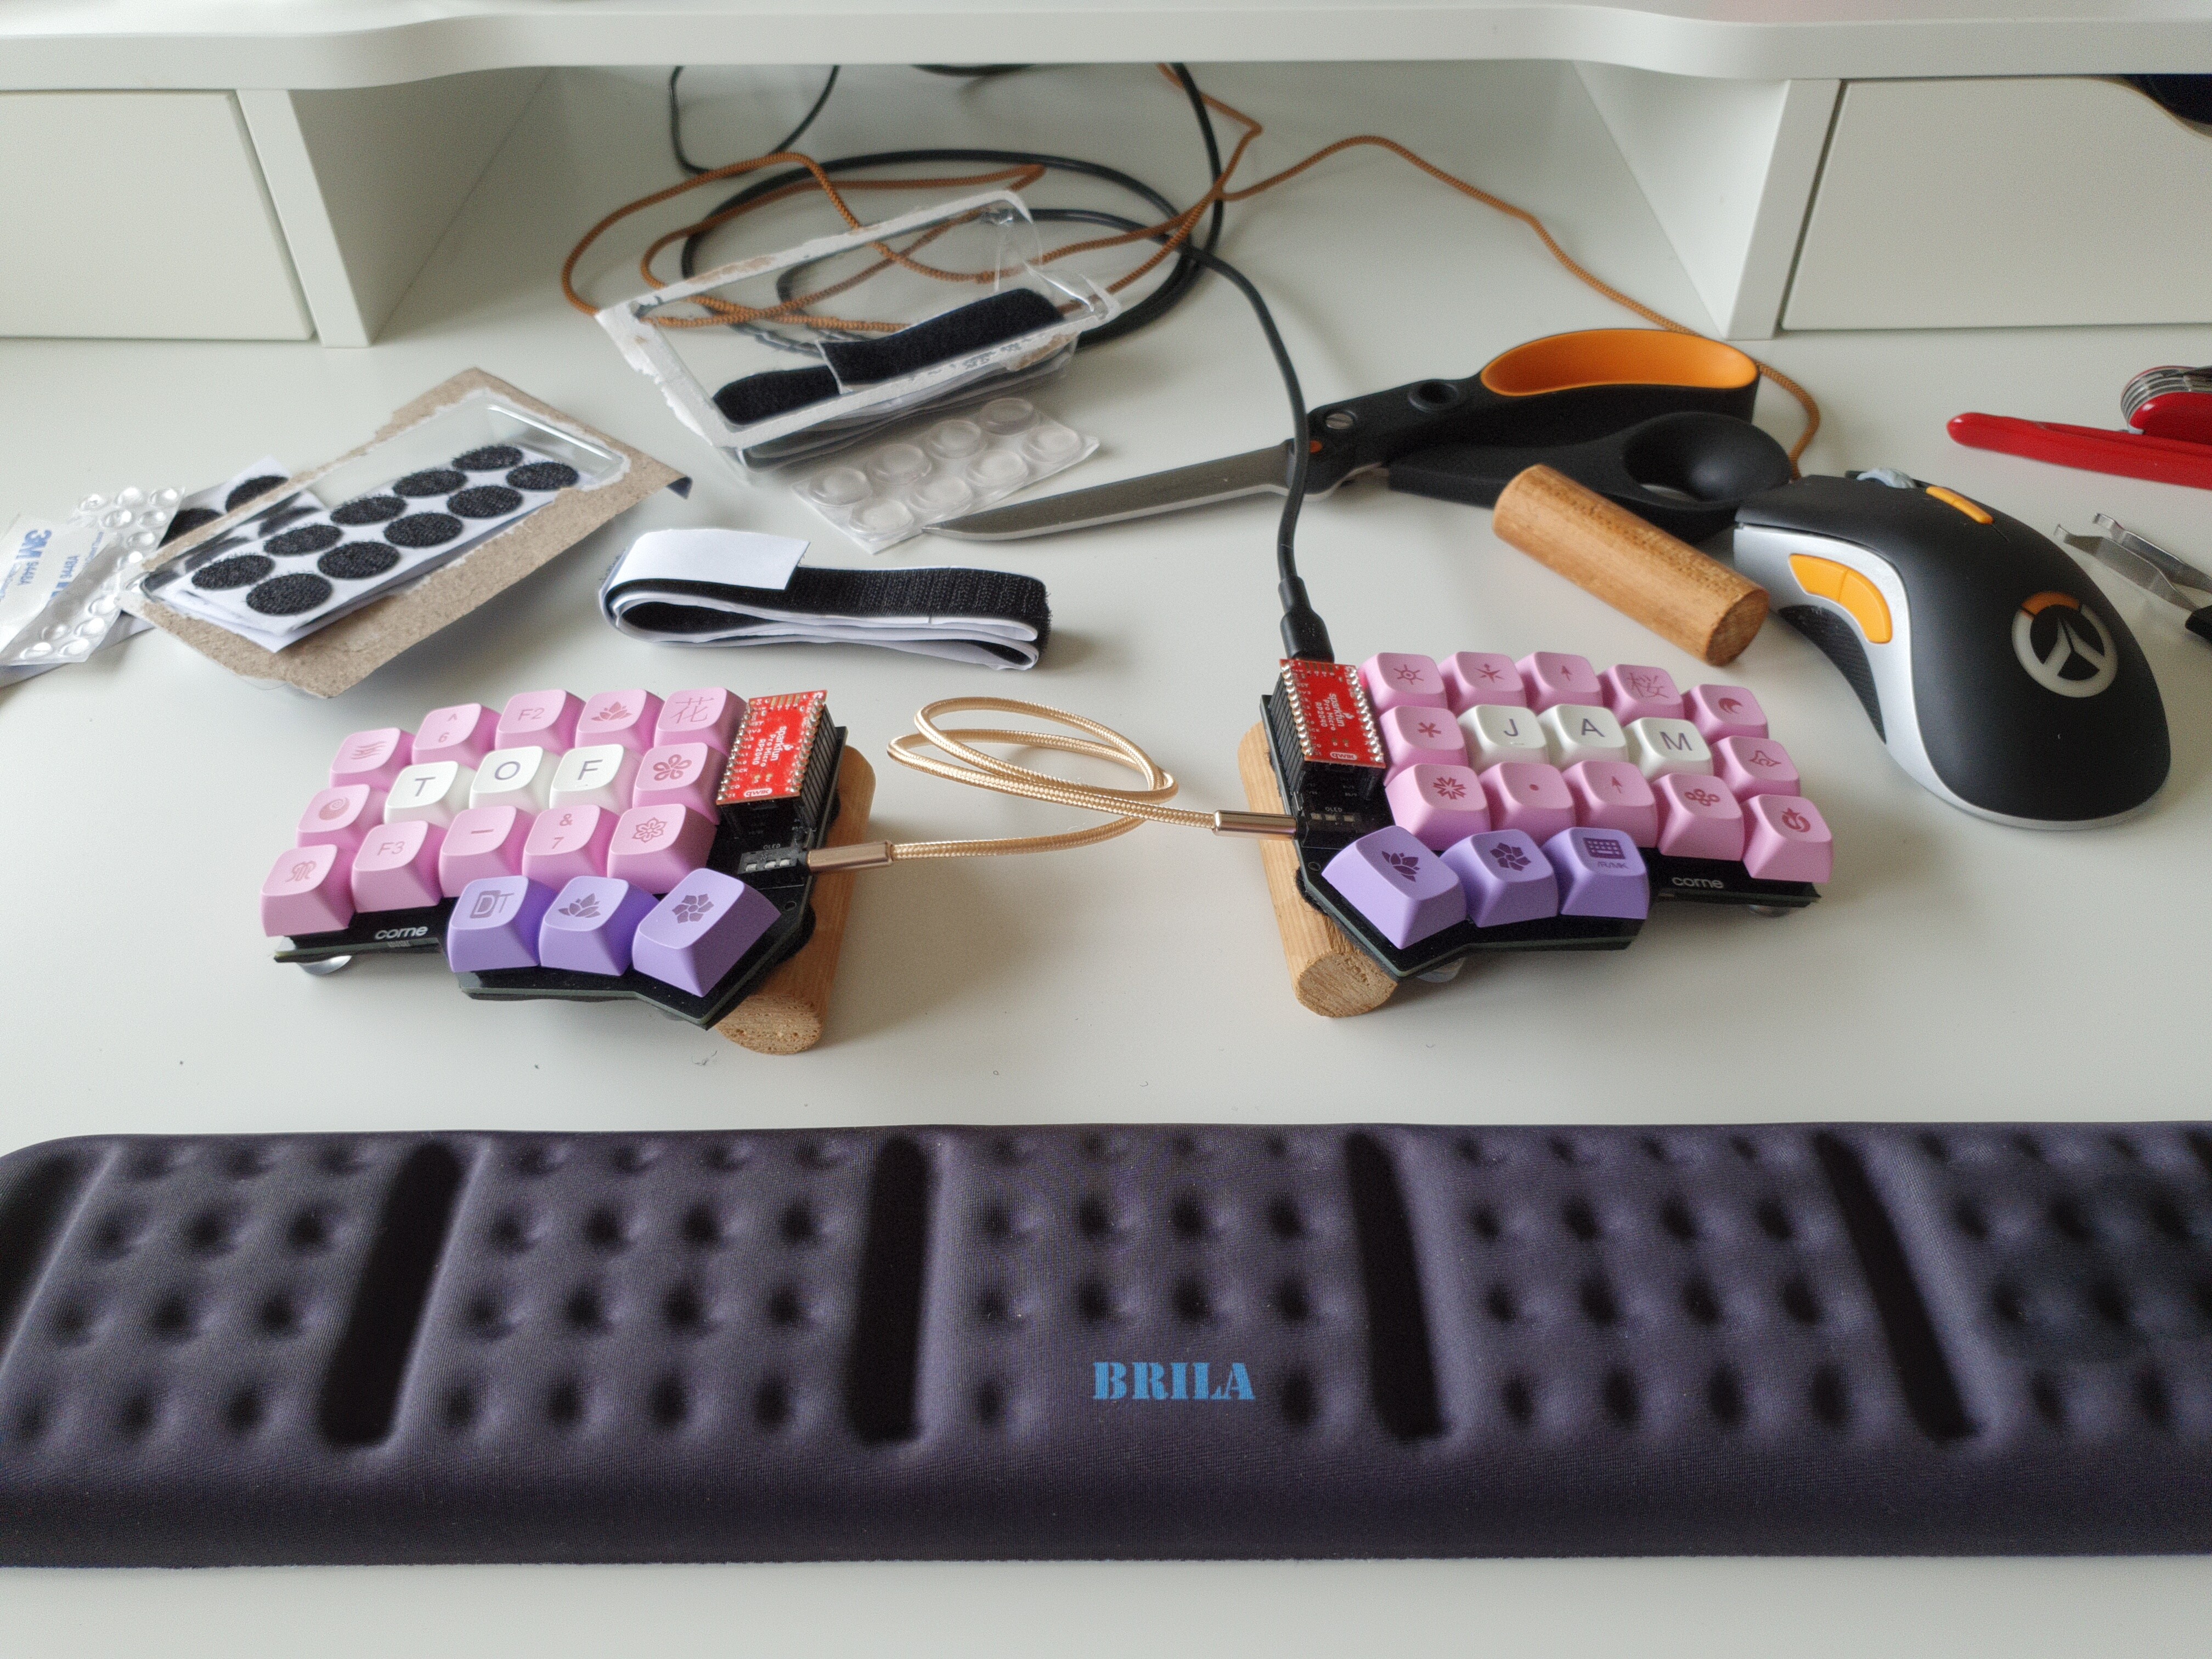
Over the past half year or so, I have been using two cornes as my main drivers.
One at home, the other at my workplace office. I tried four different kinds of
switches. I'd like to share how I feel about them.
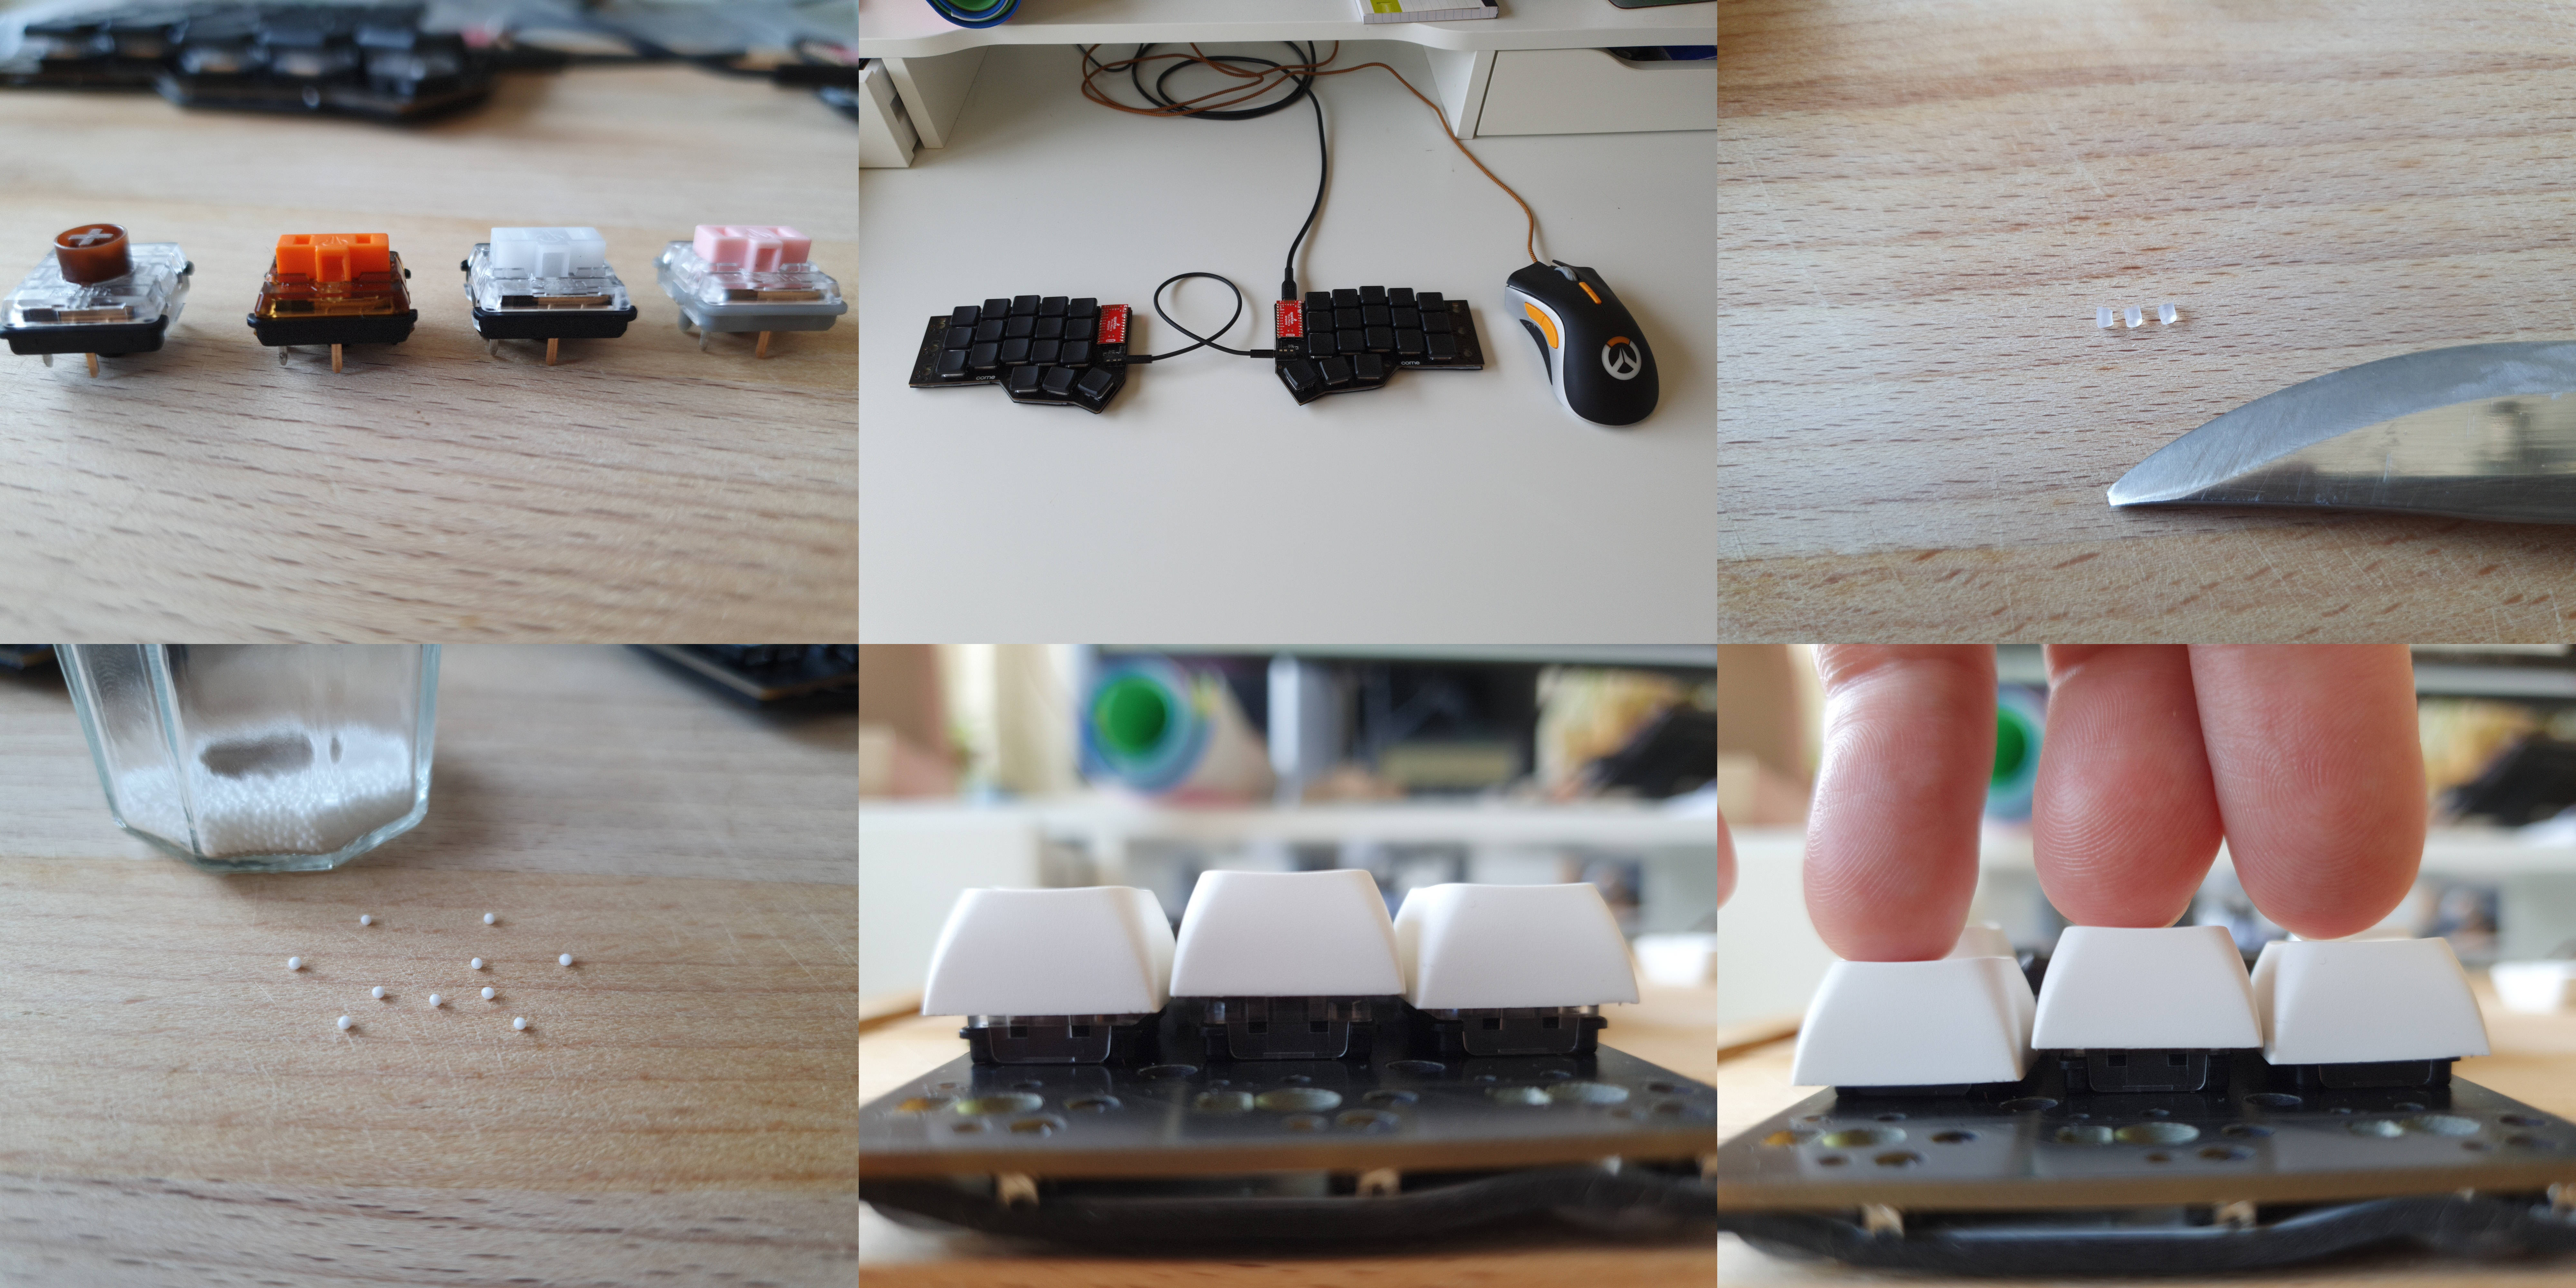
The switches are:
- Kailh choc v1 pink (linear, 20 gf)
- Kailh choc v1 white (clicky, 50 gf)
- Kailh choc sunset (tactile, 40 gf)
- Kailh choc v2 brown (tactile, 55 gf)
I used all of them with hot-swap adapters, so they just sit directly on the PCB.
No case, no top plate. I attached a piece of children's sponge rubber to the
bottom of the PCB to protect the diodes.
For those unfamiliar with it, trampolining is a modification of the switch where
you take the switch apart and insert a small object into the tube of the
switch's stem, preventing the switch from being pressed all the way down.
Kailh Choc v1 Pink
These switches are way too easy to press by accident, either by just resting my
hands on the keyboard, or not correctly hitting the center of a switch, touching
a neigbour switch.
When you start to push them down, as soon as they leave their resting position,
they become very wobbly and shaky, not moving down in a guided, straight line.
This, combined with the low switch force, makes a horrible typing experience. I
made many typing mistakes, just because of how mushy the keys feel. I used them
for two days, and put them back in the box. Praise the hot-swap sockets.
Kailh Choc v1 White
They have some pre-travel before a slight tactile bump, and the click happens
just after the the tactile bump. After the click, there is almost no post-travel
until they bottom out. I like my switches with as little pre-travel as possible,
so theoretically I shouldn't like them. The tactile feeling, combined with the
click feels and sounds good though, they feel responsive and springy.
My problem with these switches is that the actuation point is before the tactile
bump, so if you press them only slightly, they actuate without bump or click.
Typing on these switches requires a certain sense of passion, every keypress
should be a continuous, swingful movement all the way over the click.
Trampolining is not possible, becasue there is not much post-travel after the
click.
Both at home and at work, I'm sharing my office with others, so unfortunately
clicky switches are a no-go for me, because of the noise they make. I used them
for a day at home, liked the feel, but they have too much travel overall, can't
be modded, and are too noisy.
Kailh Choc Sunset
These switches have no pre-travel before the tactile bump, the tactile bump
starts exactly at the switch's rest position. This feels really great. There is
some post-travel after the tactile bump until they bottom out. Trampolining is
possible.
I trampolined the switches with 1 mm ceramic mill balls. My sister got a sampler
of such balls at an exibition, and was kind enough to give them to me. 1 mm
reduction of the post-travel is not enough, there is still too much post-travel
for my liking. Bottoming out on ceramic feels a bit harsh, but at the same time
crisp and defined. The sampler also included 2 mm balls, but those don't fit in
the stem holes of the keys.
My biggest gripe with the sunsets however, and this is a bit hard to discribe,
is how scratchy they feel. It is as if the tactile bump itself is not an
entirely smooth hill, but there is an ever so slight roughness to it. Maybe
comparable to swiping over a mirror with a wet finger. It just feels a bit off.
The roughness can be felt both on the way down, and on the way up. The switches
came factory-lubed, you can see the lube shining on the stem. Not sure if it has
anything to do with the lube.
I have been using the switches for about half a year now. They are much better
than the pinks and whites, but definitely not my endgame.
Kailh Choc v2 Brown
This is endgame material. Just like the sunsets, the tactile bump starts all the
way up at the switch's resting position. Contrary to the sunsets, the tactile
bump is smooth and satisfying. The switches activate just after the hardest
point of the bump, but before the bump is completely over, exactly how it should
be. After the bump there is quite some post-travel until bottom-out. These are
by far my favourite switches of the batch I bought, especially with
trampolining.
The biggest problem with these switches is finding the right keycaps. Since the
switches are lower than reguler MXs, standard MX keycaps tend to touch the
switch housing. I have two sets of keycaps, one a bit larger than the other. The
larger ones go over the switch housing, but just barely. While pressing a key,
the inner wall of the keycap scratches along the switch housing. That's a very
unpleasant experience. The smaller keycaps don't scratch like that, instead they
hit the small black rim of the lower half of the switch housing. That happens
after the bump, and doesn't feel too bad.
I tried to trampoline them in two ways, with the 1 mm ceramic balls, and with
small sections cut from rubber o-rings. The o-rings were included as dampeners
with one of the keycap sets. Again, the ceramic balls are a little bit too small
to reduce the post-travel in a meaningful way. With the rubber pieces you are
more flexible in how much travel you want to reduce. I made them long enough
that the switch bottoms out just after the tactile bump. Sometimes I made the
piece too large, preventing the switch from actuating. This is easily fixed
though, by taking the rubber piece out and cutting a thin slice off of it with a
sharp knife.
Modded like this, both sets of keycaps don't touch the switch housing anymore,
the switches bottom out just after the tactile bump, before the walls of the
keycaps come near the housing.
I tried some other materials for trampolining, but none of them worked properly.
The sponge rubber I used as bottom layer for my cornes is too soft to stop the
key. Bamboo toothpick tips didn't cut off cleanly and splintered in unusable
pieces. Some floral wire I had was too thin.
Rubber o-rings are the way to go. They create a very pleasant rubbery bottom-out
feeling. On the pictures you can see the bigger keycaps. The left key has no
trampoline and no o-rings. The middle key has a trampoline and three o-rings.
The right switch has a trampoline but no o-rings. There is no difference between
no o-rings and two o-rings. Only with three o-rings there is a difference. The
middle key sits a bit higher than the right key, but the overall travel distance
and bottom-out feeling is the same, and is entirely determined by the
trampoline. You can see that neither of them goes over the black rim of the
switch housing, while the left key goes over the switch housing when pressed.


I bought them from bol.com in EU, but they are also available from Amazon.